TALON: Robotic imageset testbed for sim2real validation in space vision
If you've ever searched for images of space satellites, you might have seen something like this:
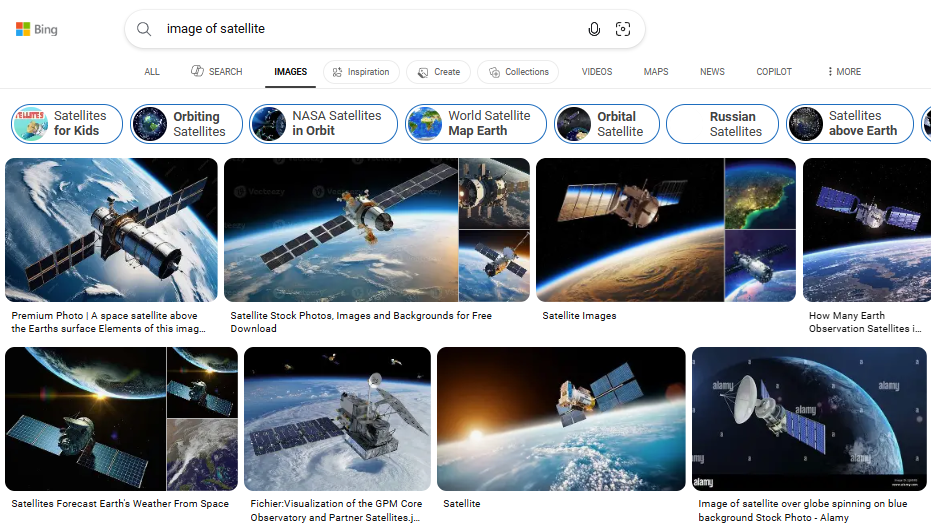
A bunch of fakes! A keen eye will recognize that almost all images you can find of satellites in space are computer-rendered. Disclosure for images of spacecraft is a bit tight-knit for various reasons. This might mean one thing to a lawyer and another thing to a flat-earther, but thankfully I am neither. I am a:
As such, I am tasked with training machine learning models on these synthetic image renders, loading that model onto a satellite, launching it a gazillion miles away into space, and expecting it to work on REAL images of space, not rendered ones. This can cause a lot of problems!
A prominent lab at Stanford in the space vision space has addressed this by creating a room-sized system of robotic arms called TRON and using this to photograph satellites with projected backgrounds. A diorama, of sorts.
Can you believe that this is what it takes to get good "real" data!
The first problem with Stanford's diorama setup is that they have it, not me. The second, more formative problem is that it does not pair synthetic images with structurally identical "real" images.
If you could make isomorphic real and synthetic image pairs, then you could assess a model's cross-context performance, a.k.a. how a model trained on synthetic data performs on real images. This would be pretty helpful in validating that what you are learning on rendered images will actually transfer to the real use case in space.
So I put together a research plan to create a prototype of my own diorama for creating isomorphic synthetic/real space imagesets. It was named TALON, which I believe stands for Testbed for Autonomous Localization and Optical Navigation.
Using two robotic arms, one which holds a camera and one which holds the target object, we can read the joint angles of the motors to recreate the exact scene in a renderer like Blender. Since we can automate the movements of each arm, the dataset collection can be highly automated and customized. From this, we can build towards modeling performance across contexts.
To start, I ordered, printed, and assembled all the parts from the Koch v1.1 Low-Cost Robotic Arm kit .
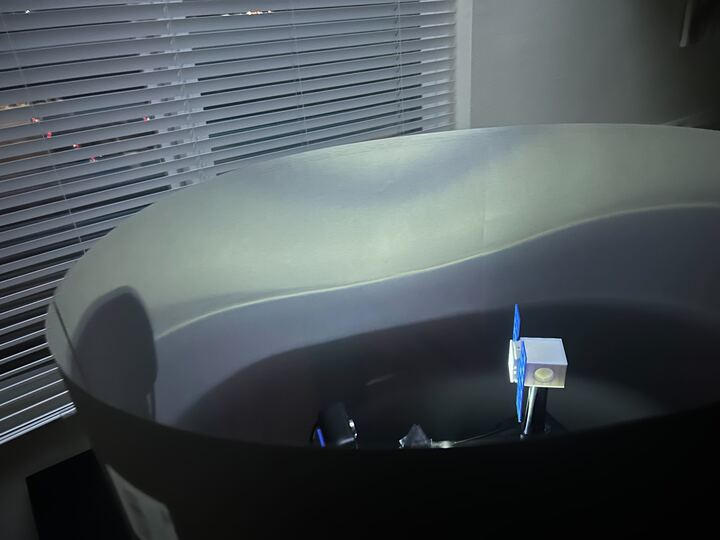
I like to build out the shittiest version of my project first and then make the entire system iteratively better, so the first thing I did was to rubberband a webcam to one arm and rubberband a screwdriver skewering a soda can to the other. Take a look at our first image capture:
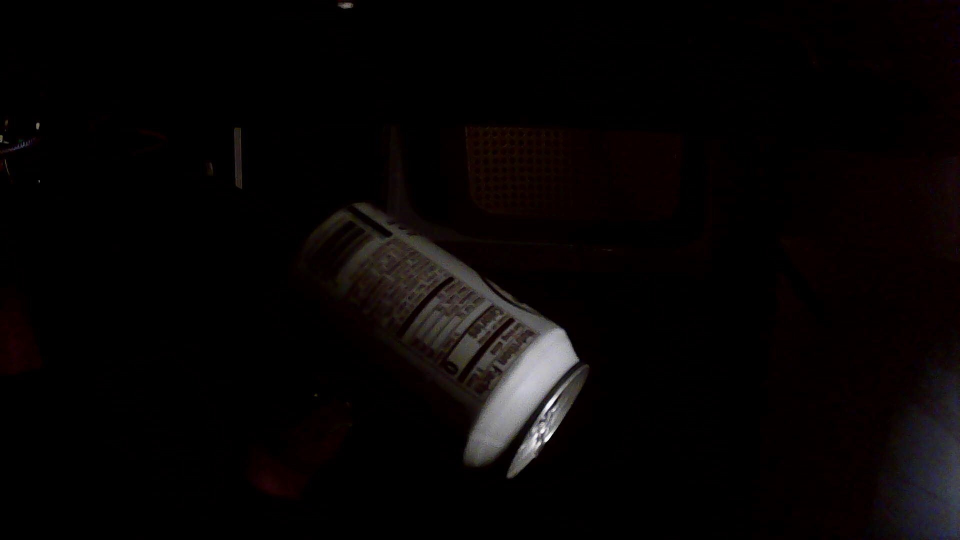
A mess!
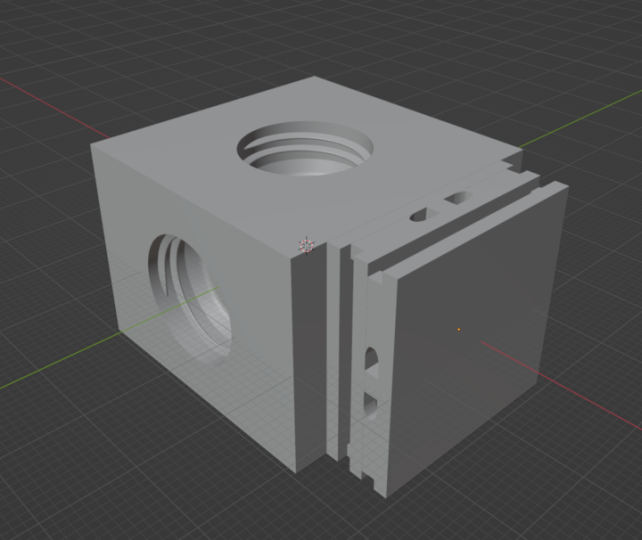
The obvious problem here is how the arms grip and connect to the camera and the target object, so I learned some low level mechanical design and 3D printing skills to develop some new attachable heads for either arm:
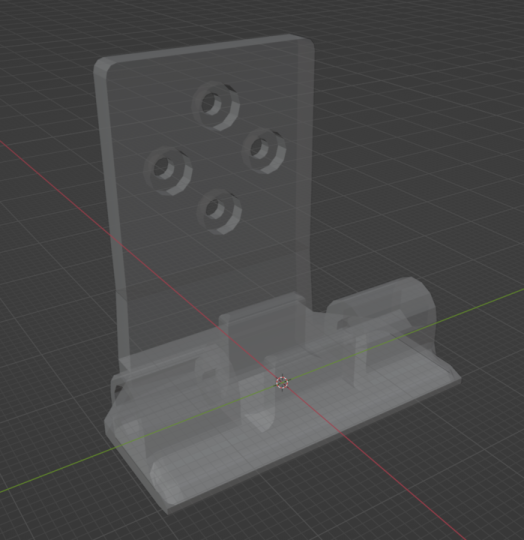
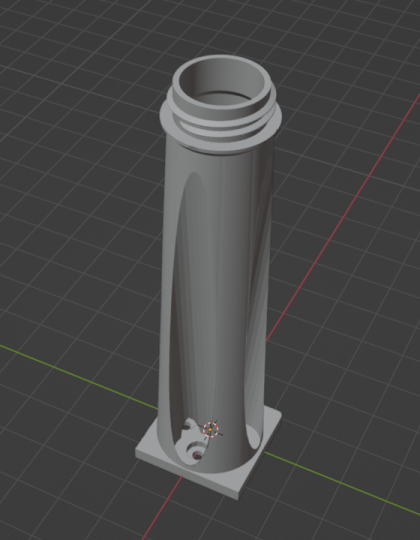
And then I also developed a configurable toy satellite with tons of solar panel orientations to build out the amount of targets I could work with.

The body screws onto the attachable head like a bottle cap, and then each solar panel is printed with a cantilever clasp to buckle into the body.
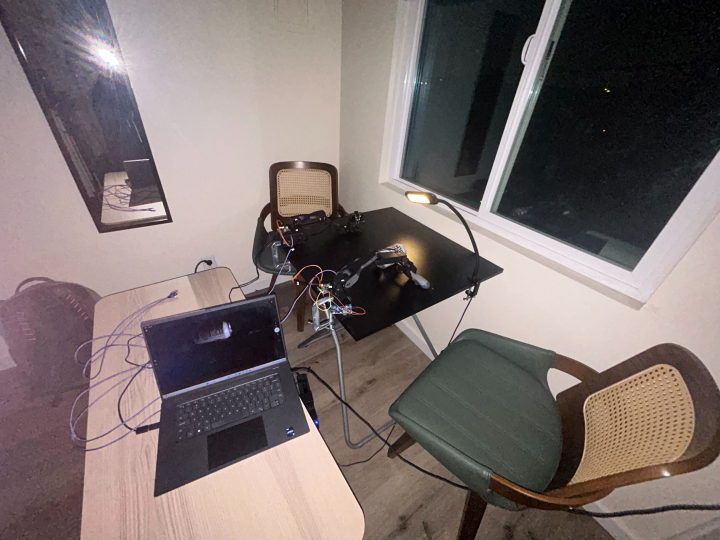
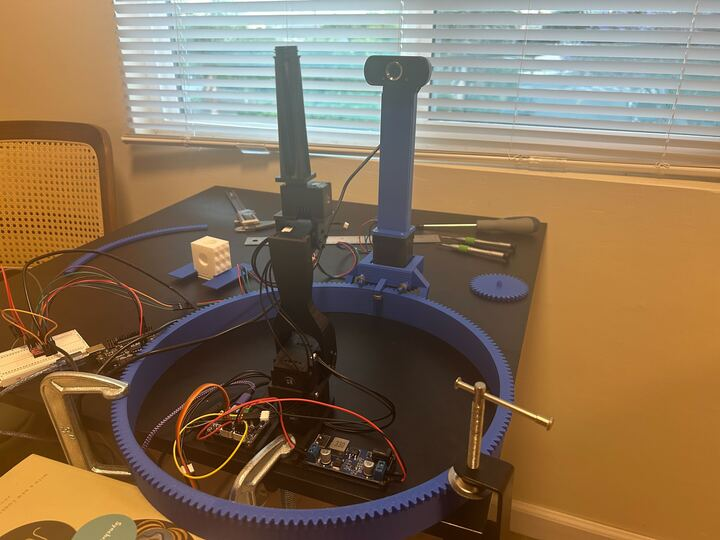
I set up a very simple microcontroller so that I could script movement of the target object arm as well as captures of the camera arm. Just like that, we have our first primitive imageset capture.
The problem with this setup is that the camera arm cannot actually orbit the target arm to mimic a continuous inspection orbit , which is kind of like the ideal use case for a space vision imageset. I needed to design a gear system to act as an orbital rail upon which the camera arm can orbit the target object.
I designed a system in Blender where I could define a curve(like that of a spacecraft's inspection trajectory) and parametrically create a gear system to fit it. I can then print out the rail piecewise through any 3D printer and have a custom rail for any desired orbit trajectory.
It would end up looking like this:
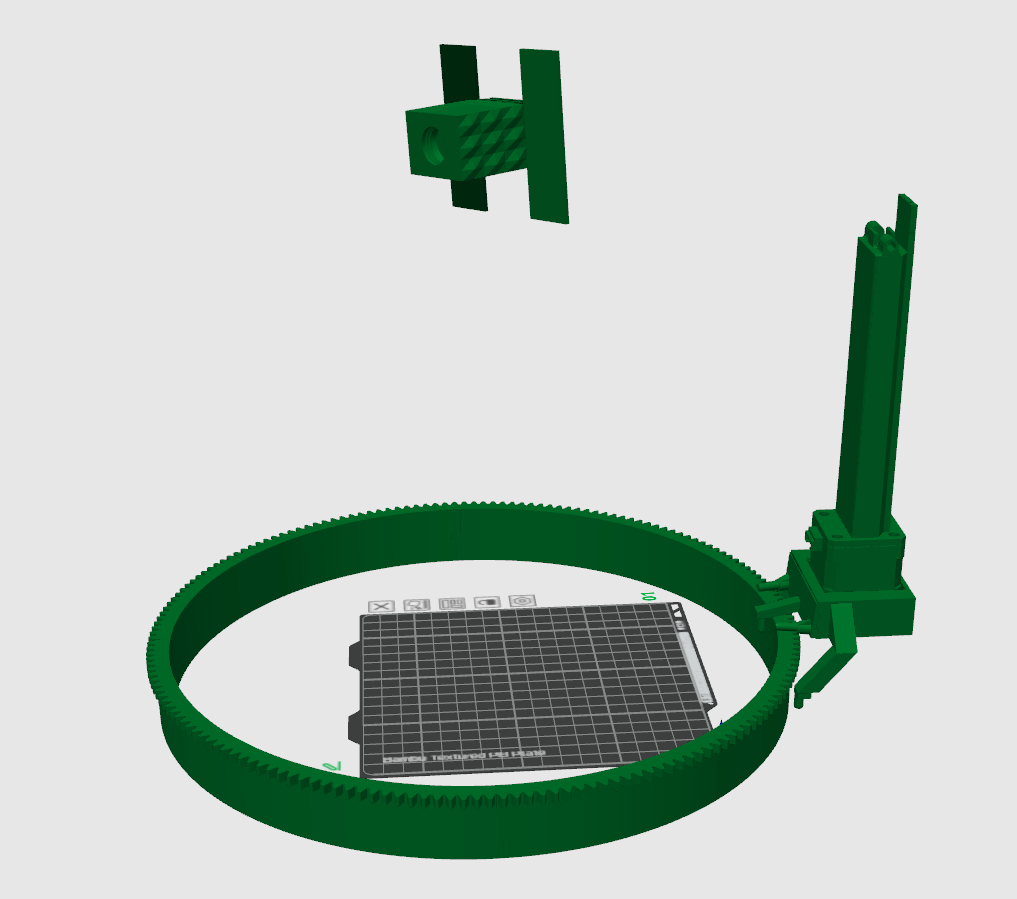
The second gear in the system is attached to a trolley that holds the camera arm, moving along the rail with a set of ball bearings.
Fairly unorthodox and certainly a bit noisy/unstable in its first run here, but I was so happy to get it to work.
With this, we have all the necessary components to make our first isomorphic synthetic/real imageset and test it out on our models!
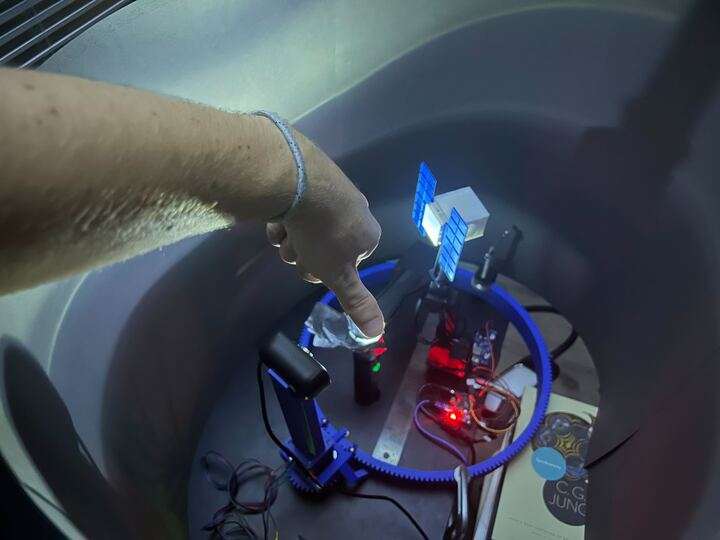
We take an image at set intervals along the rail, log the joint positions of both arms in Mujoco, export these to Blender to recreate the environment and render!
Visualization of the final testbed. Mujoco is here to process joint angle measurements.
With this, we have an extensive testbed for making all sorts of imagesets with very detailed labelling and processing schemes for validating model performance.